|
26th Oct 2009
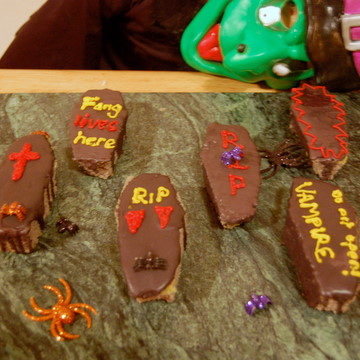
Edie: I wanted to make some little coffin-shaped cakes for Halloween (and eat them!). So me and my mum made a big sponge cake that we put black colouring in to make it look coffin-coloured, and cooked it in a big rectangular tin. When it came out it was green and grey not black and looked like it was covered in mould – we thought that was quite spooky for Halloween.
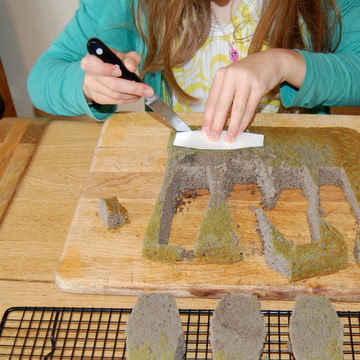
Then we drew a coffin-shaped template out of cardboard, and cut it out. I put the template on the cake, got a knife and cut around it six times to make six coffins. (There was quite a lot of cake left over, but we ate it!)
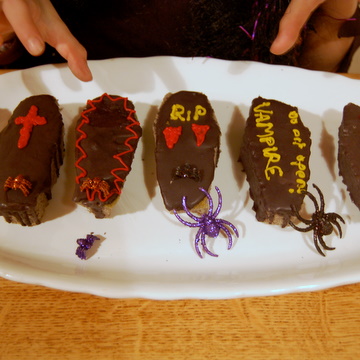
Next we made some black glacé icing (which did turn out black) and spooned it over the top of the coffins, so it dripped down the sides. They did actually look like coffins.
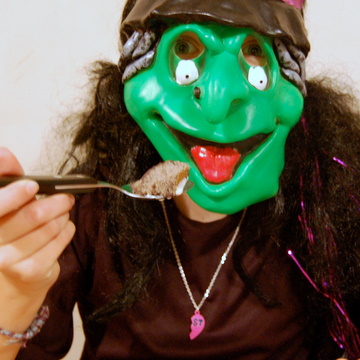
Then we wrote on them with coloured icing tubes – things like ‘RIP’, ‘Vampire – do not open!’, and ‘Fang lives here’. Once they were finished, we ate them. They tasted spookily great!
I think these would make a good gift for trick or treaters on Halloween.
18th Oct 2009
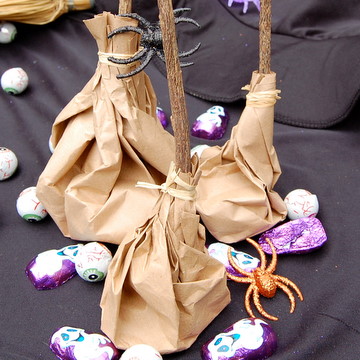
Jane: Here’s a funky way to dispense treats to trick ‘n’ treaters this Halloween – fill up a miniature witches’ broomstick with sweets. The brooms take just a minute to make: all you need is some brown paper, liquorice roots for the handles – they look wobbly and knobbly and very authentic (you can buy them in health food shops) – or just use twigs instead, some chocs or sweets, and a bit of raffia or thread to tie the broomstick together.
Cut out some large circles on the brown paper, at least 26 cm in diameter. Pop a few sweets in the middle of the circle.
Then grab the edges of the paper and gather them together at the top. Shake the sweets down and push on a table to give the broomstick a flat bottom, so it will stand upright. Stick one end of a liquorice root in the centre of the gathered paper, about 2-3 cm deep, then secure around the paper and root with a bit of raffia or thread.
Bewitching!
10th Oct 2009
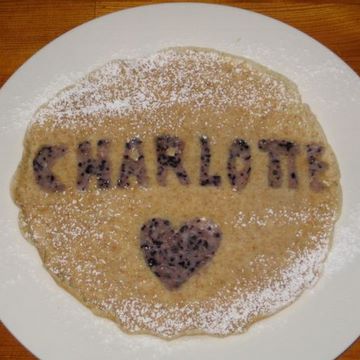
Tim: Every Sunday we have a big family breakfast in bed. French toast is popular, but the house favourite is definitely pancakes with fruit and maple syrup. A while ago we started experimenting with shapes, like pancakes in the shape of each person’s initials. Now we’ve gone a step further by adding colour to create more ambitious pancake art.
When the batter is ready we divide it into separate jugs ...
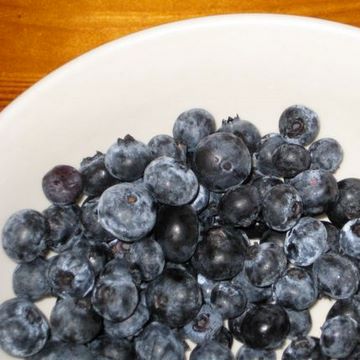
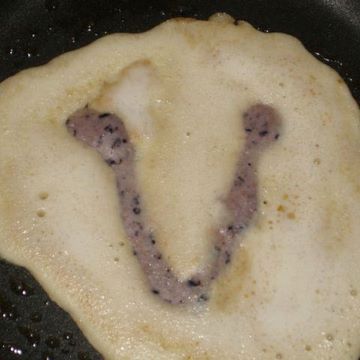
...adding a handful of fresh blueberries to one and blending them in with a hand mixer or food processor.
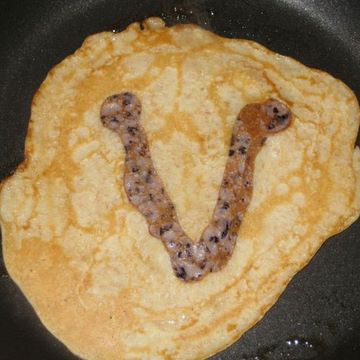
Pouring from the jug, or else using a turkey baster, start with the coloured batter and make a shape or write a letter. Within a few seconds it will have set enough to fill in around it with the plain batter.
After that has cooked you flip the pancake as normal to cook the other side ...
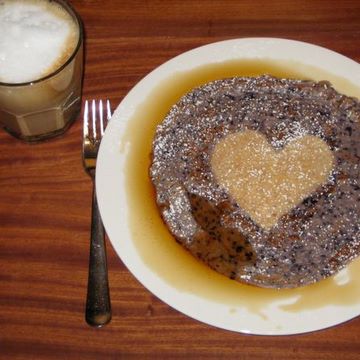
...flipping it once again as you put it on to the plate before drowning it with maple syrup (or lemon juice and sugar) and dusting it with icing sugar.
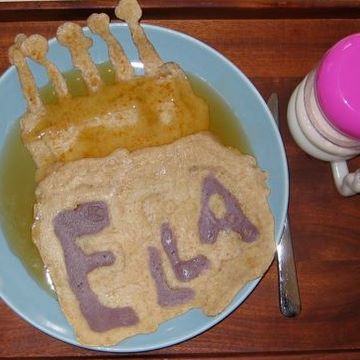
To write names or do more complicated designs we’ve found it is easiest to start making a regular pancake. When it is almost done on one side, lift it out of the pan on to a wooden chopping board where you can use a sharp knife to cut out shapes or letters. After carefully laying the pancake back into the pan you simply fill in the gaps with coloured batter using the turkey baster, adding small pieces from the cutouts to fill in the centre of letters like ‘A’ or ‘O’.
We use blueberries because where we live they are plentiful in summer, but any berry fruit would work and while fresh is obviously best, frozen fruit is just as effective.
The blueberry mixture makes delicious pancakes (even if you decide not to make shapes) and is a good way of sneaking fruit into fussy kids. For a pancake recipe click here.
|

|

